// KOTAKU — GAMING
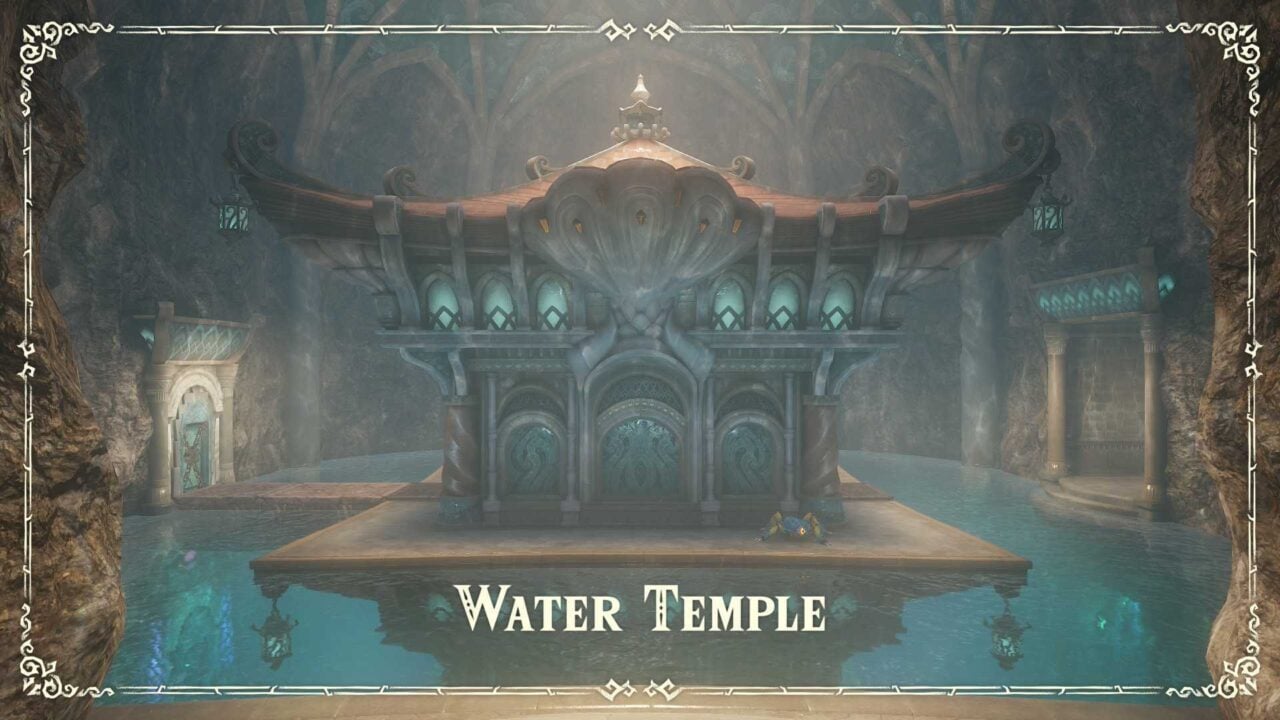
Zelda: Ocarina Of Time Remake Water Temple Walkthrough
Nintendo Switch 2The Legend of ZeldaThe Legend of Zelda: Ocarina Of Time
Well, you’ve made it. You’re finally at the most infamous dungeon in all of Zelda-dom, the Water Temple of Ocarina of Time. Good news for you: In the remake, this dungeon is far, far easier than it’s ever been. A few of the edges have been sanded down, the rooms all look far more distinct and memorable so it’s less of a mental maze, and the iron boots can be equipped and de-equipped simply by pressing down on the gamepad. Compared to the original, it’s a smooth ride. But still, this is one of the most involved dungeons in the game, so buckle on that Zora Tunic and let’s get swimming.
To enter the Water Temple, you need to be wearing (no, I wasn’t joking) the Zora Tunic, which you get by freeing King Zora from his ice block back in Zora Domain. To do that, you need Blue Fire in a bottle, which you obtain in the Ice Cavern as an adult. You’ll also need the Iron Boots from that same cavern. If you haven’t gotten that far yet, back yourself up and come back to this guide later.
Once you’re in the temple, remove your iron boots and float to the top. Run forward, and you’ll be in a big, open room with a bunch of doors on all four sides across four different floors, and water below you. I’m going to be referring to this as the “main hall” going forward. We’re going to be here a lot. I’ll also be referring to doors by floor and cardinal direction, so if you’re ever confused about what I’m talking about, open that map.
The first thing you’re going to do is slay that Blue Tektite in front of you. Sword, hookshot, whatever you like, just get it out of the way.
Next, you’re going to equip those Iron Boots, descend to the first floor, and head through the east door. Once you’re inside, remove the boots to float upward for a cutscene with your fiancee, Ruto. When it’s over, grab the Dungeon Map from the chest in front of you, and then stand on the platform with the Triforce symbol and play Zelda’s Lullaby to lower the water level.
Real quick tip: There are three different spots to mess with the water level in this dungeon, and each one will raise it to a different spot. This one brings it down to the first floor, and is marked by glowy blue pillars. It might be good to make a note somewhere of which color results in which water level, just in case you ever get turned around or confused and the water level is in the wrong place.
Once the water has dropped, fearlessly jump down the hole, landing in the water below so it doesn’t damage you. Now, with the water taken care of, note that one of the torches in here is lit. Stand behind it with your bow equipped and aim an arrow through the fire to each of the two torches on the other end of the room to open the door in front of you, then enter. Defeat the three Spikes by blocking their attacks with your shield and swinging your sword when they’re vulnerable to obtain a Small Key. (Din’s Fire is also usable for this puzzle).
Backtrack the way you came in and head out into the main hall. There are two more aptly named Spikes out here waiting for you; get rid of them. To your left (west side, 1F) is a bombable/breakable wall. Knock that out, and use your Iron Boots to sink, sink, sink. Head down the underwater corridor and take care of the Shell Blade by hitting it with your hookshot when its mouth is all the way open. At the end of the corridor, take off the boots and rise up.
In here, climb the platform jutting out of the water and use the hookshot to grapple onto the pillars ahead of you. Take down the Tektites and the Like Like (Hookshot is great here), and you’ll be rewarded with the Compass. Now, all the way back to the main hall!